How To Format a Computer
There are lots of reason that we should format our computers, due to infection of virus, due to getting speed of the system slower and slower, getting out of space etc. basically as formatting a computer involves erasing all of the material, data, files on the computer and into the hard drive where we save the data. If you want to get escape from the infection you need to format your hard disc and ultimately you can get your system back with the high quality performance.
Here are the main and basic steps for you to get format your computer and get back to high quality performance.
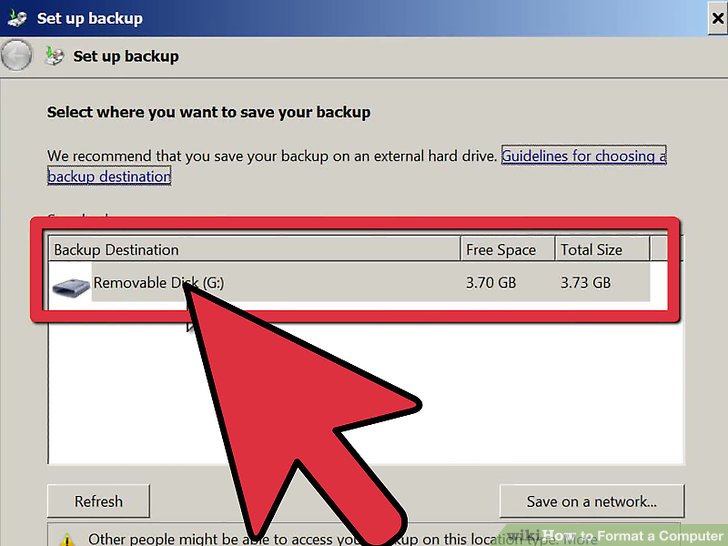
Step 01) Setup the Backup
Main thing is that you need to get save your necessary files on the separate place and measure them those all files are on a safe place and having less threat. There are more options to saving the files like on the other partition of the hard disc, can on the USB drive, can on the memory card, and also you can save on the black compact disc.
Step 02) Setting the BIOS to Boot from the Compact Disc
For the sake of getting format need to do some particular actions like required as restarting the computer and ten we can enter the setup screen on the time manufacturer logo will appear there. On the system which is based on the BIOS about your main system requirement.
Step 03) Begin Setup
If you got the CD then have been inserted and on the other hand BIOS is actually correctly and will see a complete text as telling you to get press any of the key to get a boot from CD. You can also get the access and with the use of USB connection will get boot.
Step 04) Loading Files Windows
After getting boot we will see the files available loading and in the completion the windows 7 logo and will appear actually with the no files have been altered on the system and then on computer and data will be deleted as later steps.
Step 05) Selection of Preferences
After you get the screen with information of data and their formatting you will have the options to get format as per your selection of the disc or the partition you want.
Step 06) Click Install Now Option
Once you got the message and setting with the preferences you want to install the window in it and after that you will click on the install option will precede with the action for format your computer disc. Then will get to continue by reinstalling the window after format.
Step 07) Read and Accept the Terms You Will See There
After clicking on the install option you will see on the screen terms and conditions details available and you need to click on the agreement as in a small check box under the written lines on computer screen.
Step 08) Selection of Custom Installing
With the check a tick you will get the message as a clear option about it known as custom installing. This process will lead you towards the process of getting install window on your hard drive after formatting.
Step 09) Deleting the Partition You Want
After that you will have an option to delete the partition you want and will be easy to move and format absolutely. You will get delete all the files existing and will release space as free and completely as usable.
Step 10) Chose the Unallocated Space and Move Next
You will get there is absolutely no requirement to get a partition as before the installing Windows 7 and will complete as automatically.