Time-lapse videos have the remarkable ability to condense hours, days, or even months into captivating visual experiences. Technology advancements have made it easier to capture time-lapse videos with the incredible 360 degree cameras. You can take your time-lapse productions to the next level by utilizing the special powers of a 360 camera, including the best backpack mount for 360 camera. I’ll show you how to use your 360 camera, along with the best backpack mount, to make stunning time-lapse videos that are both immersive and beautiful in this post.
Choose the Right Location and Subject
Selecting an interesting location and subject is crucial for capturing an engaging time-lapse video. Consider places with dynamic elements, such as bustling city streets, natural landscapes with changing weather patterns, or even the movement of crowds during a festival. Experiment with different environments to find subjects that lend themselves well to the time-lapse format and that will provide captivating visuals when captured in a 360-degree perspective. To enhance your shooting experience, you can also explore accessories like the Insta 360 backpack, which offers convenient storage and easy transport of your equipment while ensuring stability and comfort during your time-lapse sessions.
Plan Your Shoot
Planning your shot thoroughly is vital before starting your time-lapse trip. Consider the length of the time-lapse sequence you want to create as well as variables like lighting, changing weather, and the movement of the subjects in the frame. You may want to consult weather forecasts or research events that could add interest to your footage. Planning ahead will help you maximize the potential of your time-lapse video, including the proper positioning and stability of your 360 camera mount to ensure smooth and steady capture throughout the entire sequence.
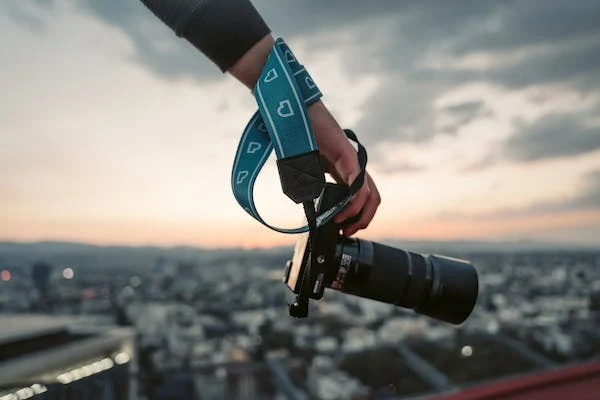
Set Up Your 360 Camera
To achieve consistent exposure and seamless transitions in your time-lapse, manually set your camera’s exposure settings, including aperture, shutter speed, and ISO. Use the camera’s manual mode to maintain consistent exposure throughout the sequence, especially when shooting in changing lighting conditions. By ensuring a steady exposure, you will have greater control during post-processing, resulting in smoother and more visually appealing time-lapse videos. Additionally, consider utilizing specialized accessories like the Insta 360 one r backpack mount, which offers a secure and convenient way to mount your camera, ensuring stability and ease of use while capturing your time-lapse footage.
Adjust Camera Settings
To achieve consistent exposure and seamless transitions in your time-lapse, manually set your camera’s exposure settings, including aperture, shutter speed, and ISO. Use the camera’s manual mode to maintain consistent exposure throughout the sequence, especially when shooting in changing lighting conditions. By ensuring a steady exposure, you will have greater control during post-processing, resulting in smoother and more visually appealing time-lapse videos.
Patience is Key
Time-lapse film production demands perseverance and a long-term viewpoint. Capturing the appropriate sequence can take hours, days, or weeks depending on the subject and the desired time-lapse length. Maintaining the camera’s steadiness during this period is essential. Monitoring the shot to ensure that everything is proceeding as intended. Patience and dedication will reward you with stunning visuals that capture the passage of time in a unique and immersive manner.
Post-Processing and Editing
Once you have finished recording your time-lapse movie with a 360 camera, you can edit it to add some life and interest. This could involve cropping out unnecessary footage, adjusting the speed, or adding music or sound effects. Transfer the footage to your computer and use specialized software for 360 video editing to stitch the footage together seamlessly. Adjust the speed and duration of your time-lapse, add transitions, and enhance the colors and contrast to create a visually striking final product. Experiment with different editing techniques to enhance the overall impact and storytelling of your time-lapse video.
Conclusion
You can make the most of your 360 camera’s capabilities to produce breath-taking time-lapse films by carefully selecting your location, organizing your shoot, properly positioning your camera, changing the settings, being patient, and devoting time to post-processing and editing. So take your camera, start your time-lapse tour, and enjoy the amazing 360-degree beauty of time passing by.