Introduction:
Stickers have become a popular form of self-expression, allowing individuals to personalize their belongings and share their love for art and design. While Cricut machines are commonly used for sticker-making, you don’t necessarily need one to create your own unique stickers. In this article, we will explore the process of DIY sticker making without a Cricut machine. Additionally, we will touch upon the relevance of custom body pillows and custom washi tape as creative additions to your sticker-making repertoire.
Exploring DIY Sticker Making:
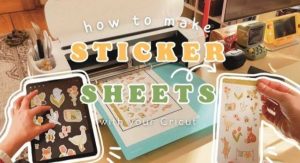
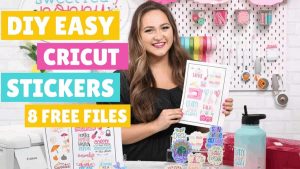
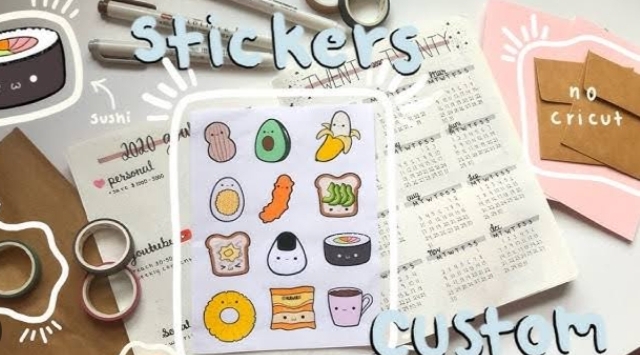
Making your own stickers can be a fun and fulfilling creative project. While Cricut machines offer convenience, there are alternative methods that don’t require one. We will explore a DIY approach that allows you to create stickers in various formats, including singles, packs, and sheets.
Gathering the Necessary Supplies:
To embark on your DIY sticker-making journey, gather the essential supplies. You’ll need:
- Printable Sticker Paper: Look for high-quality sticker paper that is compatible with your printer. Opt for a matte or glossy finish based on your desired sticker appearance.
- Scissors: A pair of sharp scissors will be handy for cutting out your sticker designs.
- Printer: Ensure that you have a reliable inkjet or laser printer that can produce high-quality prints.
- Design Software: Use graphic design software like Adobe Illustrator or a free alternative like Canva to create your sticker designs.
Designing Your Stickers:
Start the sticker-making process by designing your stickers. Whether you’re into cute illustrations, inspiring quotes, or intricate patterns, let your creativity shine. Use your preferred design software to create your sticker designs. Experiment with colors, typography, and images to craft unique and visually appealing stickers.
Formatting Your Designs:
Once your sticker designs are complete, it’s time to format them for printing. Create a new document with the dimensions suitable for your desired sticker size. Ensure that the resolution is set to a high-quality standard for crisp and vibrant prints. Arrange your sticker designs on the document, leaving enough space between each design for easy cutting.
Printing Your Stickers:
Load your printable sticker paper into your printer, ensuring that it’s properly aligned. Before printing, do a test run on regular paper to check the layout and colors. Once satisfied, print your sticker designs onto the sticker paper. Allow the prints to dry completely before proceeding to the next step.
Cutting Out Your Stickers:
With your printed sticker sheet in hand, it’s time to cut out your stickers. Use a pair of sharp scissors to carefully trim around each sticker design. Take your time to ensure clean and precise cuts. If you prefer specific shapes, consider investing in craft punches or circle cutters for more uniform stickers.
Packaging Options:
Now that your stickers are cut, you can explore different packaging options. For single stickers, you can place them in protective sleeves or attach them to backing cards for a professional touch. If you’re creating sticker packs, consider grouping them by theme or style and securing them with ribbon or decorative packaging. As for sticker sheets, you can leave them as is or package them in clear bags to keep them organized.
Custom Body Pillows and Custom Washi Tape:
To expand your merchandise beyond stickers, consider incorporating custom body pillow and custom washi tape. Custom body pillows offer a unique canvas for your artistic expression, allowing your designs to be displayed in a larger format. Custom washi tape allows you to create decorative and versatile tape designs that can be used in various crafts, journaling, or gift wrapping projects. Explore printing services or DIY methods to produce custom body pillows and custom washi tape