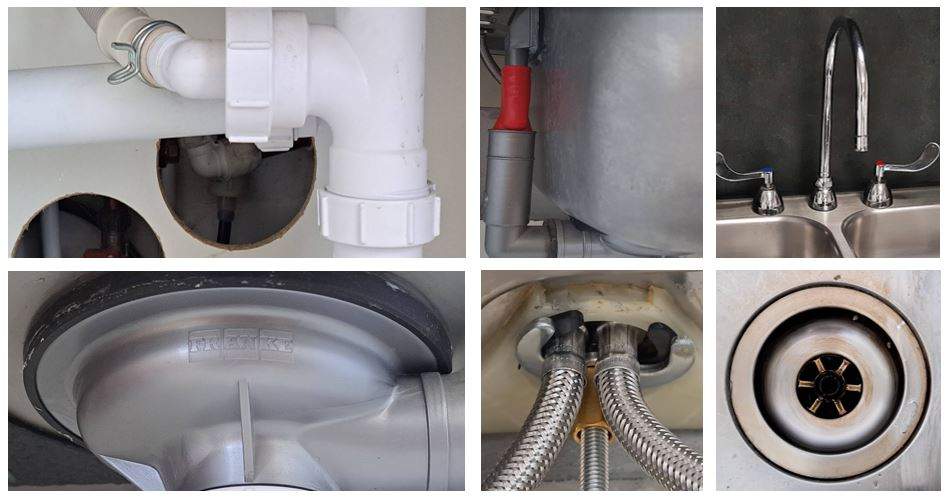
A leaky faucet is an annoying and wasteful problem. It will cause water damage and increase your utility bills. That’s why it’s crucial to fix a leaky faucet ASAP to avoid inconvenience. However, it can be a quite daunting task unless you know how to fix a leaky faucet under the sink.
Thankfully, you can fix a leaky faucet under the sink with some basic tools and a little know-how. In this step-by-step guide, we will walk you through the reasons of a leaky faucet, and ways to fix them. It will help you save money and avoid unnecessary water waste. For professional help “Click Here”
Why A Faucet Becomes Leaky:
A faucet can become leaky for many reasons from damaged O-rings to worn-put washer. When you decide to fix it, you must first assess the reason of a leaky water faucet under the sink.
- Worn-out washers: Over time, the rubber or silicone washers inside the faucet handle can deteriorate or become stiff, causing leaks around the handle.
- Damaged O-rings: O-rings, which are small rubber rings located around the stem of the faucet, can wear out or become loose, leading to water leakage.
- Corroded valve seat: The valve seat, which connects the faucet spout to the faucet body, can corrode due to mineral deposits or aging. This corrosion can cause leaks around the spout.
- Loose or damaged connections: Loose or worn-out connections between various components of the faucet, such as the handle, spout, or supply lines, can result in water leakage.
- High water pressure: Excessively high-water pressure can put strain on the faucet’s internal parts, causing them to wear out faster and leading to leaks.
- Mineral buildup: Hard water can leave mineral deposits inside the faucet, affecting its performance and causing leaks.
How To Fix A Leaky Faucet Under The Sink:
When you hear the dripping noise from a leaky faucet, it can be worrisome. So, you must fix it without any delay.
Tools and Materials Needed:
- Adjustable wrench
- Screwdriver (both flathead and Phillips)
- Replacement parts (such as washers and O-rings)
- Plumber’s tape
- Towel or rag
- Bucket or basin (to catch water)
Step 1: Prepare the Workspace
Before you start working on the leaky faucet, ensure that you have ample space to work comfortably under the sink. You should clear out any items or clutter that may obstruct your access to the faucet. Lay down a towel or rag to catch any water that may drip during the repair process. Lastly, place a bucket beneath the faucet to catch any excess water. Read more
Step 2: Shut Off the Water Supply
You should prevent water from flowing while you work with the leaky faucet.
- First, locate the shut-off valves under the sink.
- Turn off both the hot and cold-water supply. For this, rotate the valves clockwise until they are fully closed.
- Once the water supply is turned off, open the faucet handles. It will release any remaining water pressure.
Step 3: Remove the Faucet Handle
Observe the type of faucet you have. It is crucial since you need to remove a decorative cap or cover to access the handle screw. Use a flathead or Phillips screwdriver to unscrew the handle screw. Then, gently lift the handle off the faucet assembly. If the handle is stubborn, use a lubricant to remove the debris and then with a wrench, remove it.
Step 4: Inspect the Washers or O-Rings
After removing the handle, you can access the faucet cartridge or stem assembly. It helps you know what to fix.
- Inspect the washers and O-rings for signs of wear, tearing, or mineral buildup.
- These components are often the cause of leaks.
- Use a screwdriver or pliers to remove the worn washers and O-rings.
Step 5: Replace Washers and O-Rings
Head to your local hardware store or home improvement center. From there, find replacement washers and O-rings that match the ones you removed. It’s a good idea to bring the old parts with you to ensure a proper fit. Apply plumber’s tape to the new washers and O-rings for added sealing and lubrication.
Step 6: Reassemble the Faucet
Carefully place the new washers and O-rings onto the faucet assembly with proper alignment. Reattach the handle and secure it in place with the screw removed in Step 3. Tighten the screw until the handle is securely fastened, but avoid overtightening to prevent damage.
Before reassembling, look for any sediment and debris. If you fine any wipe them with a brush and vinegar to help the faucet work properly.
Step 7: Test for Leaks
When you have reassembled the faucet, turn on the shut-off valves under the sink to restore the water supply. Slowly open the faucet handles and let the water flow. Check for any signs of leaks around the handle or base. If there are still leaks, try tightening the handle or disassembling it again to ensure the washers and O-rings are properly positioned.
Conclusion:
Fixing a leaky faucet under the sink is a manageable task at home. It will save you money, reduce water waste, and prevent potential water damage. You can follow our step-by-step guide to easily tackle this repair project on your own, without the need for professional assistance.
However, remember to work with caution, take your time, and gather the necessary tools and replacement parts before you begin. It will make your leaky faucet fixing task easy and fun that you will enjoy thoroughly.

