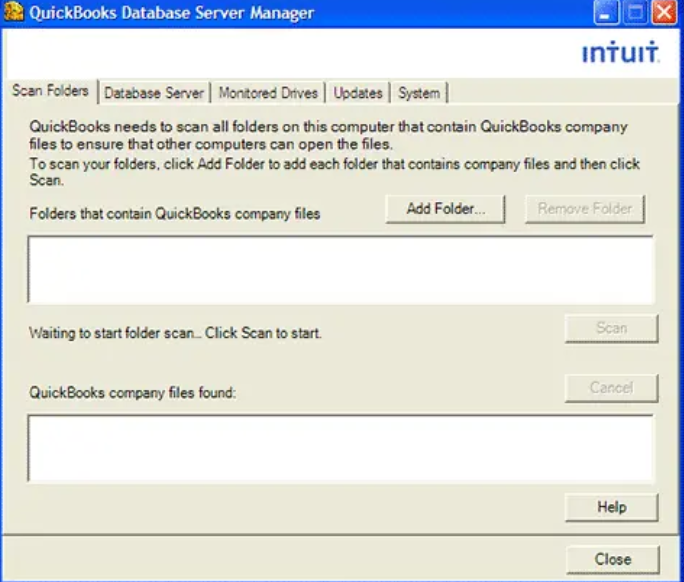
QuickBooks database server manager lets QB users share the company files with other computers over network. When you set up a network, it is important to run QuickBooks database server manager, in order to access the company files. The QBDBSM further lets you monitor the multi-user network and makes it easy to create network data files for each and every company file on the host system. It is basically an exceptional utility feature offered by Intuit that lets you organize the QuickBooks server folder. Without this tool, it is not possible to access multi user mode in QuickBooks. To give you a better understanding, here is a quick guide sharing the complete install and setup process for QuickBooks database server manager.
Facts Related to QuickBooks Database Server Manager
Before you proceed with the steps to download and install in QBDBSM, let us first explore some quick facts about it:
- QuickBooks database server manager creates network data files i.e., .nd files on the host system.
- Another interesting fact is that it is mandatory to enable database server manager, in order to use QuickBooks in multi user mode.
- In case you are using multiple versions of QuickBooks desktop, then install each version of database server manager.
- Each of QuickBooks versions adds one user when the QuickBooks database manager is installed.
Steps to download and install QuickBooks database server manager
Let us explore the complete set of steps that can be performed in downloading and installing QuickBooks database server manager.
Step 1: Download Database Server Manager
Note that database server manager is basically a part of the company file. You will have to download and update QuickBooks desktop and the database server manager updates automatically. In simple words, QuickBooks downloads will include database server manager.
Step 2: Installing QB database server manager
You can install QBDBSM on the server computer i.e., the computer that hosts the company files. In case you are an accountant or someone who hosts multiple versions of QuickBooks desktop on your network, then install them in order. You can install the oldest version first and end with the most recent. The steps involved in installing are:
- First, close all open programs on your server computer, including QuickBooks.
- Once done with that open install file you downloaded i.e., Setup_QuickBooks.exe
- Perform the onscreen instructions and find the product or license number.
- When QuickBooks asks you to choose an install type, go for custom or network install
- Further choose next tab.
- Avoid selecting express.
- The express option installs QuickBooks over your previous version and you might need the previous version for comparison and troubleshooting purposes.
- You now have to choose the best option for your network setup and hit next.
- Both options install Database manager.

- If you want database server manager and QuickBooks on your server computer, then choose I’ll be using QuickBooks desktop on this computer, AND I’ll be storing our company file here so it can be shared over network.
- Or if you only want database server manager on your server computer, then choose I will not be using QuickBooks desktop on this computer.
- Carry out the onscreen instructions to complete the procedure.
- And further hit the install tab.
- You might be asked for windows permissions.
It should be noted that QuickBooks creates a new windows user for each version of database server manager. Give QBDataServiceUserXX permission to access the folders having the company file.
Steps to configure QBDBSM
You can configure the QBDBSM using the steps below:
- Open windows start menu
- Now, enter services in the search bar and open the same
- The next step is to choose and open QuickBooksDBXX
- Head to general tab and find the service status.
- In case it is started or running, choose stop
- Also, from startup type choose automatic
- Now, login and select local system account
- Followed by heading to recovery and choose restart the service from each of these: first failure, second failure, and subsequent failures.
- The last step is to move back to general and choose start to reboot database server manager.
Conclusion!
QuickBooks database server manager is an interesting feature in QuickBooks without which it isn’t possible to access multi user mode. Hopefully, the above discussed steps and procedures might help you in successfully installing and setting up database server manager and making the optimal use of it.!