Are you looking to streamline your shipping process and make label printing more efficient? Setting up a thermal printer kit for 4×6 labels can simplify your workflow and save you time. In this article, we will guide you through the process of setting up your thermal printer kit so you can start printing labels with ease.
What is a Thermal Printer Kit?
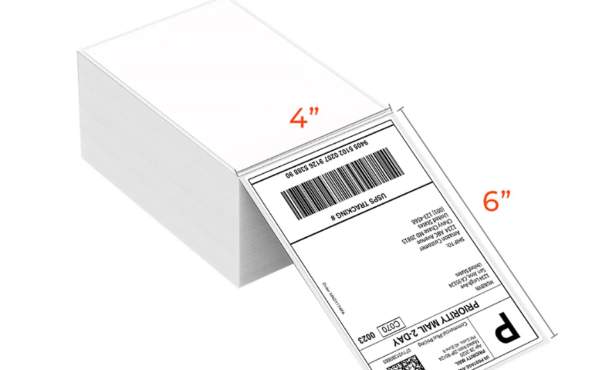
A thermal printer kit is a compact and efficient printing solution that uses heat to transfer ink onto paper. It is commonly used for printing shipping labels, receipts, and barcode labels. The 4×6 label size is ideal for printing shipping labels as it provides enough space for all the necessary information.
Why Use a Thermal Printer Kit for 4×6 Labels?
Using a thermal printer kit for 4×6 labels offers several benefits. It eliminates the need for expensive ink cartridges, saves time on label printing, and produces high-quality, smudge-free labels. Additionally, thermal printers are known for their reliability and durability, making them a cost-effective choice for businesses of all sizes.
Setting Up Your Thermal Printer Kit
Now that you understand the benefits of using a thermal printer kit for 4×6 labels, let’s walk through the setup process:
Unboxing Your Thermal Printer Kit
When you receive your thermal printer kit, carefully unbox the contents and ensure that all components are included. Common items in a thermal printer kit include the printer, power cord, USB cable, and installation CD.
Connecting the Printer
To connect your thermal printer, first, plug the power cord into an electrical outlet and connect it to the printer. Next, connect one end of the USB cable to the printer and the other end to your computer. Make sure to follow the manufacturer’s instructions for proper connection.
Installing the Printer Driver
After connecting the printer, you will need to install the printer driver on your computer. Insert the installation CD into your computer’s CD drive and follow the on-screen instructions to complete the installation process. If you do not have an installation CD, you can typically download the driver from the manufacturer’s website.
Testing the Printer
Once the printer driver is installed, it’s time to test the printer to ensure that it is working correctly. Open your label printing software, select the thermal printer as your printing device, and print a test label. If the label prints successfully, congratulations – your thermal printer kit is set up and ready to use!
Conclusion
Setting up a thermal printer kit for 4×6 labels is a straightforward process that can greatly improve your label printing efficiency. By following the steps outlined in this article, you can quickly get your thermal printer up and running, saving time and hassle in your shipping process.
Learn how to set up your thermal printer kit for 4×6 labels to streamline your shipping process and save time. Start printing labels with ease today!