How to Bypass Google Verification on LG
There are new developments related to improving the Android operating system on many new smartphones. One striking thing is what is called the Google verification process to return the device to its default status and then re-verify it with a Google account. In this process, security is guaranteed (by Google) but if you have a cellphone with a Lollipop system provided by a third party, you might have a little problem. After the reset is complete, you will be asked to verify your device with your previously configured Google account. The problem occurs when you buy a used device and you do not have access to the previous owner’s account.
Do you have to give up? Certainly not! You still have the option to settle your problem. You need to bypass the process in question, the verification process. Of course the verification process that must be done depends on the type of your device. If you have an LG device, there are several important steps to take:
– You need a LG Google account shortcut tool Tungkick. This bypass tool can work well on your LG device.
– Turn off the device and switch to Download Mode. After that, immediately connect the device to your computer.
– Download shortcuts on PC. Double-click on “tool.exe” and you will find a screen at the bottom.
– Follow the instructions given; You may need several minutes to complete the process.
How to Bypass Google Verification on ZTE
Just as experienced by LG users, verification on ZTE is not as easy as one might think. This is related to systems supplied by third parties. The necessary step is to connect your ZTE device on a PC and use WiFi. It is recommended that you use a Wi-Fi network because you might be spending a lot of data. After the device is connected to the PC then you need to do the following steps:
– Go to your own Gmail (you are taken by a screen).
– Tap the text field and you’ll see the @ character. Hold it until the “Settings” appears.
– Do you see 3 dots at the top of your screen? If so, just clik on it.
– Go to “Help & Feedback”.
– You’ll find out the “WebSearch” on the upper right corner of the screen. Click on it!
– Once the search field appears type: settings
– Click on “About Phone”. Tap 7 times in Build Number to get “Developer Options” activated.
– Click Developer Options followed by OEM Unlocking.
– Click on “Back” twice.
– You’re almost done! Connect your Android device back to the WiFi network.
– You will find that you were not asked to access your Google account beforehand. That means you can add your Google account.
How to Bypass Google Verification on Android
Google Verification is often unavoidable on Android. Third party systems are the main reason why we should know how to bypass Google verification on our Android devices. But this bypass method is often misused when other people find your Android device. However you should understand this method for anticipation. The easiest way is to pay for a service to do this bypass method for you. Each device may require a different treatment but you can take an outline.
– Connect devices with WiFi networks.
– You will be taken to a page asking for a Google Account.
– Tap the text and you’ll see the “Keyboard” appears.
– Tap and hold @ for a few seconds and choose Google Keyboard Settings.
– Tap on 3 points located on the top right of the screen.
– Go to Help & Feedback.
– Tap for a few seconds on Using Google Keyboard.
– Go to WebSearch and click on it.
– Look for “About Phone”. Tap 7 times on it until “Deeloper Options” appears.
– You need to allow OEM Unlocking
– Restart the device. Connect it again with your WiFi network.
– Add your Gmail account and Bingo! You have done all!
What to do to bypass the Google Account Verification after Reset
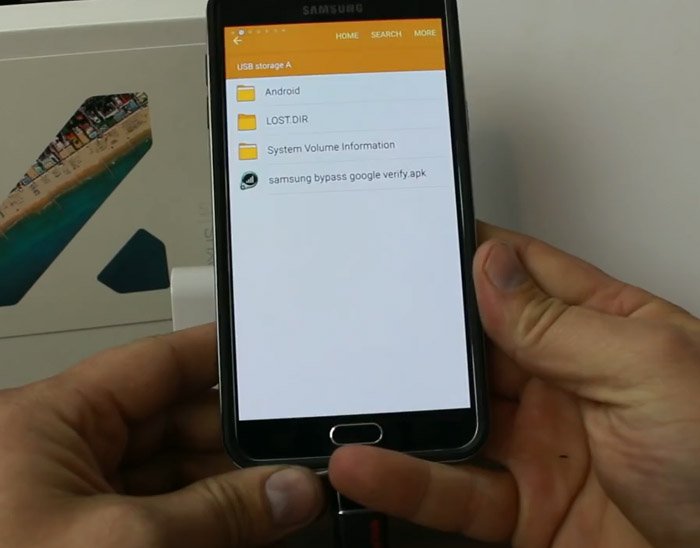
Very easy! Open Factory data reset and tap it. Then tap the “Delete All” button. You may need to wait a few minutes and after that all the stored data is deleted and you will be taken to the initial setup screen again. Disconnect your OTG cable and when you are not asked for Google account credentials again, you have succeeded.